
This exercise will continue to help you develop your figure drawing and also introduce you to basic framing of your subject.
We will progress on to more challenging layouts later.
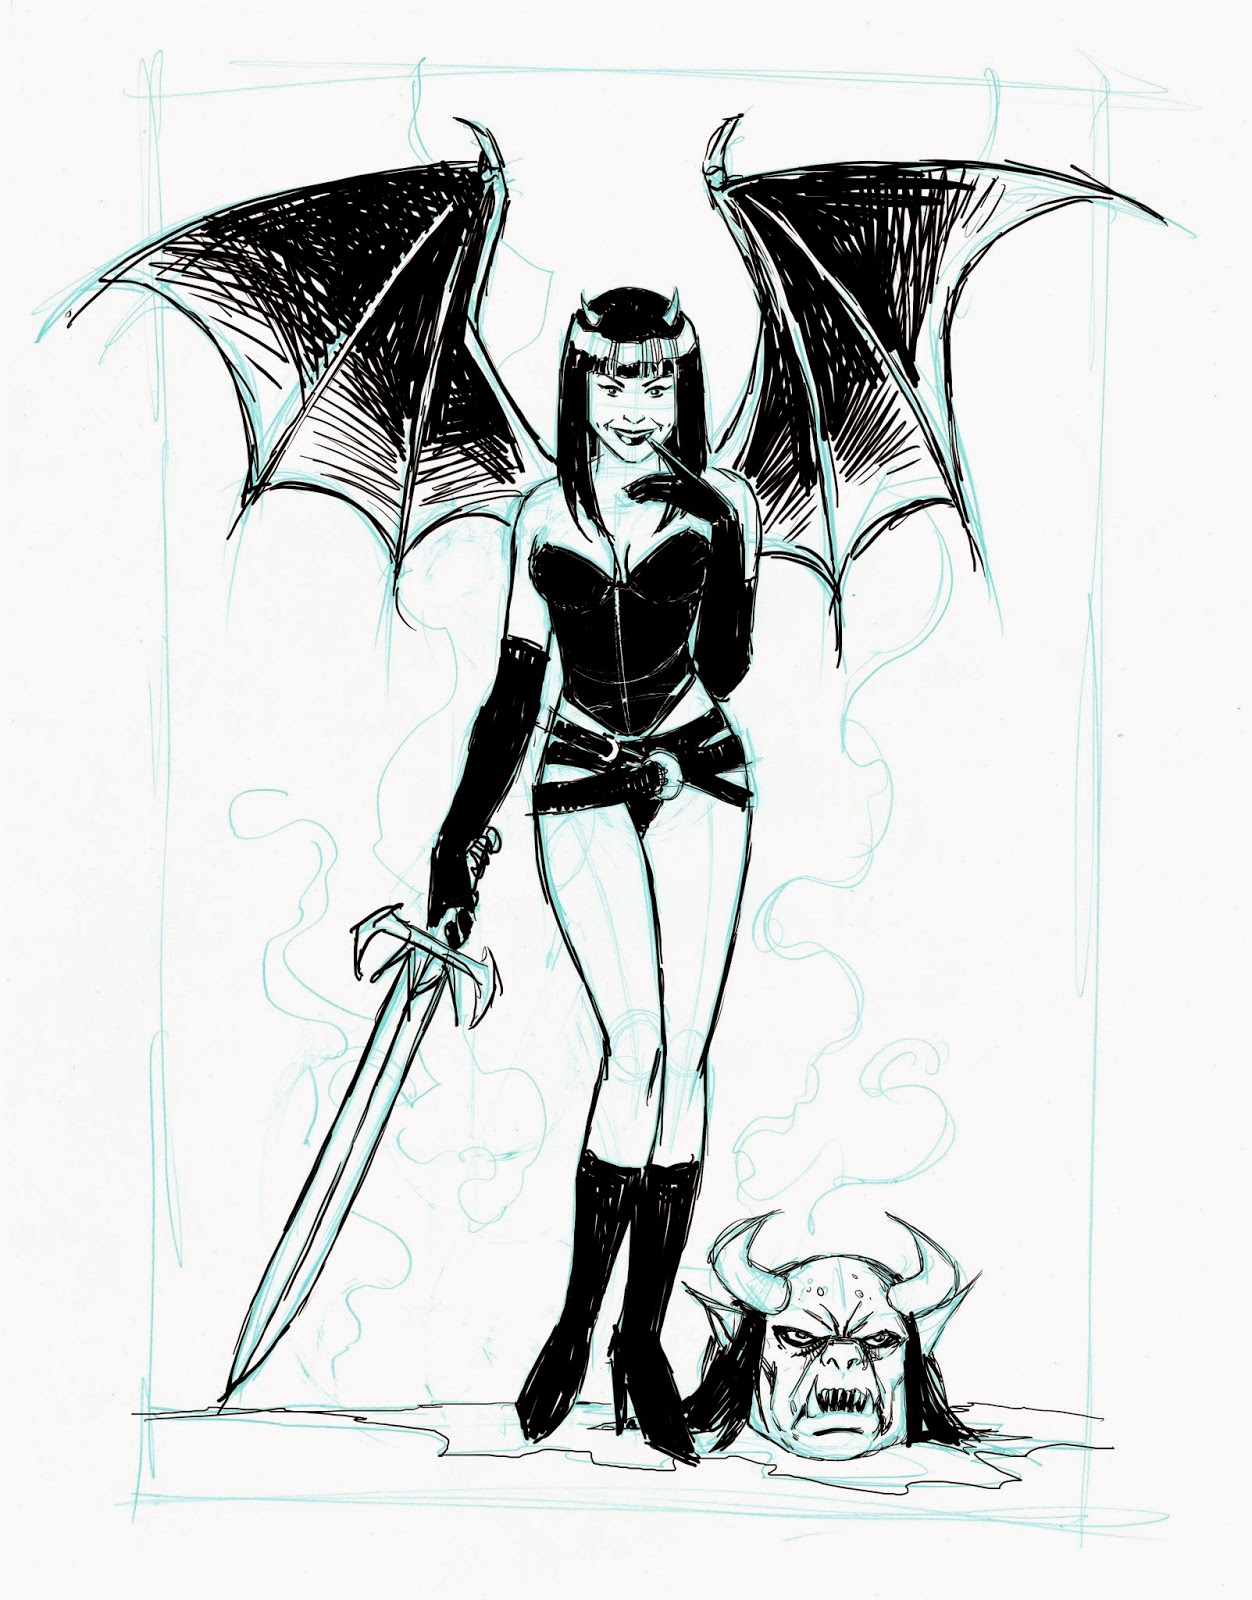
This is the pre inked pencil drawing. This is what you are aiming for. Not necessarily my style of drawing but the figure.

Start by sketching out the figure. This is a centralised composition, so consider this when you begin.
If you find the stick figure helpful, begin with that.


Or, if you find it easier to rougthly sketch out the figure, without using the stck frame, begin that way.

I have drawn something pretty basic to follow, if you are confident to draw some more elaborate, please do so.


I will post a more detailed tutorial on drawing the face and hands but for now just have a go. Also, have a look back at what I wrote in my last post.


Not that you have drawn the figure, you can render it in ink or continue with pencil.
Now, I must point out that I have not actually inked the following stages. These were very quickly (and crudely) gone over in photo shop but it should give you a few things to think about.
Think about how you want to render your drawing. It can tak some time and many drawings befor you arrive at the style that is right for you..
You may prefer detailed inking, or a combination of detailed line and graphic , solid black shapes.

 If you are considering a solid black background, think about whether it is important that parts of your main image are lost to the background..
 Below are some suggestions for finishing your drawing in a very simple manner.
You will notiuce I have switchd the axe for a sword
Think about how you want to render your drawing. It can tak some time and many drawings befor you arrive at the style that is right for you..
You may prefer detailed inking, or a combination of detailed line and graphic , solid black shapes.
You will notiuce I have switchd the axe for a sword

I am not convinced that the black shape, to the right of the sword, dividing the smoke, is working. I think it causes unnecessary conflict


No comments:
Post a Comment